

Getting started
To connect Oplane MCP to your dev environment, visit your Oplane dashboard and follow the setup instructions for your specific environment. The setup process takes just a few minutes. Once connected, prompt your AI assistant with “Use Oplane” to get started. If you choose to create a new threat model, the entire workflow below runs automatically, from identifying use cases and threats to providing implementation advice and assessing your code. To use Oplane MCP from a CI pipeline or another tool where nobody signs in, create an application and connect with its API key.Supported environments
Oplane works with any environment that supports the Model Context Protocol:- Any MCP-compatible tool
- Cursor
- Claude Code
- GitHub Copilot CLI
- opencode
- Codex
Add the following to your
mcp.json configuration file:Recommended setup: CLAUDE.md / AGENTS.md
For the highest-value use of Oplane, your agent should threat-model security-relevant changes before you commit or push them, not after a PR comment flags them. To make this a standing habit rather than a reaction, paste the block below into your project’sCLAUDE.md or AGENTS.md (whichever file your agent reads on startup).
Once it’s there, your agent sees this instruction on every session. It reaches for Oplane MCP automatically whenever it’s about to commit a change that touches authentication, access control, data handling, untrusted input, new endpoints, secrets, or infrastructure.
CLAUDE.md / AGENTS.md
CLAUDE.md / AGENTS.md gives you the same behaviour across every session, including ones that don’t start from a PR.
What you can do
Once connected, tell your AI assistant what you want to do. Here are the workflows available:Tool reference
Your AI assistant calls Oplane’s MCP tools automatically as part of the workflows above, so you don’t need to call them directly. For the full list, see MCP tools.Choosing a workspace
When you create a threat model via MCP, Oplane automatically creates a personal workspace for you and adds the threat model there, with no setup required. This is the default, so you can start threat modeling immediately without picking a workspace first. To target a specific workspace instead, mention it by name in your prompt:- “Use Oplane to threat model my auth changes in the workspace name workspace”
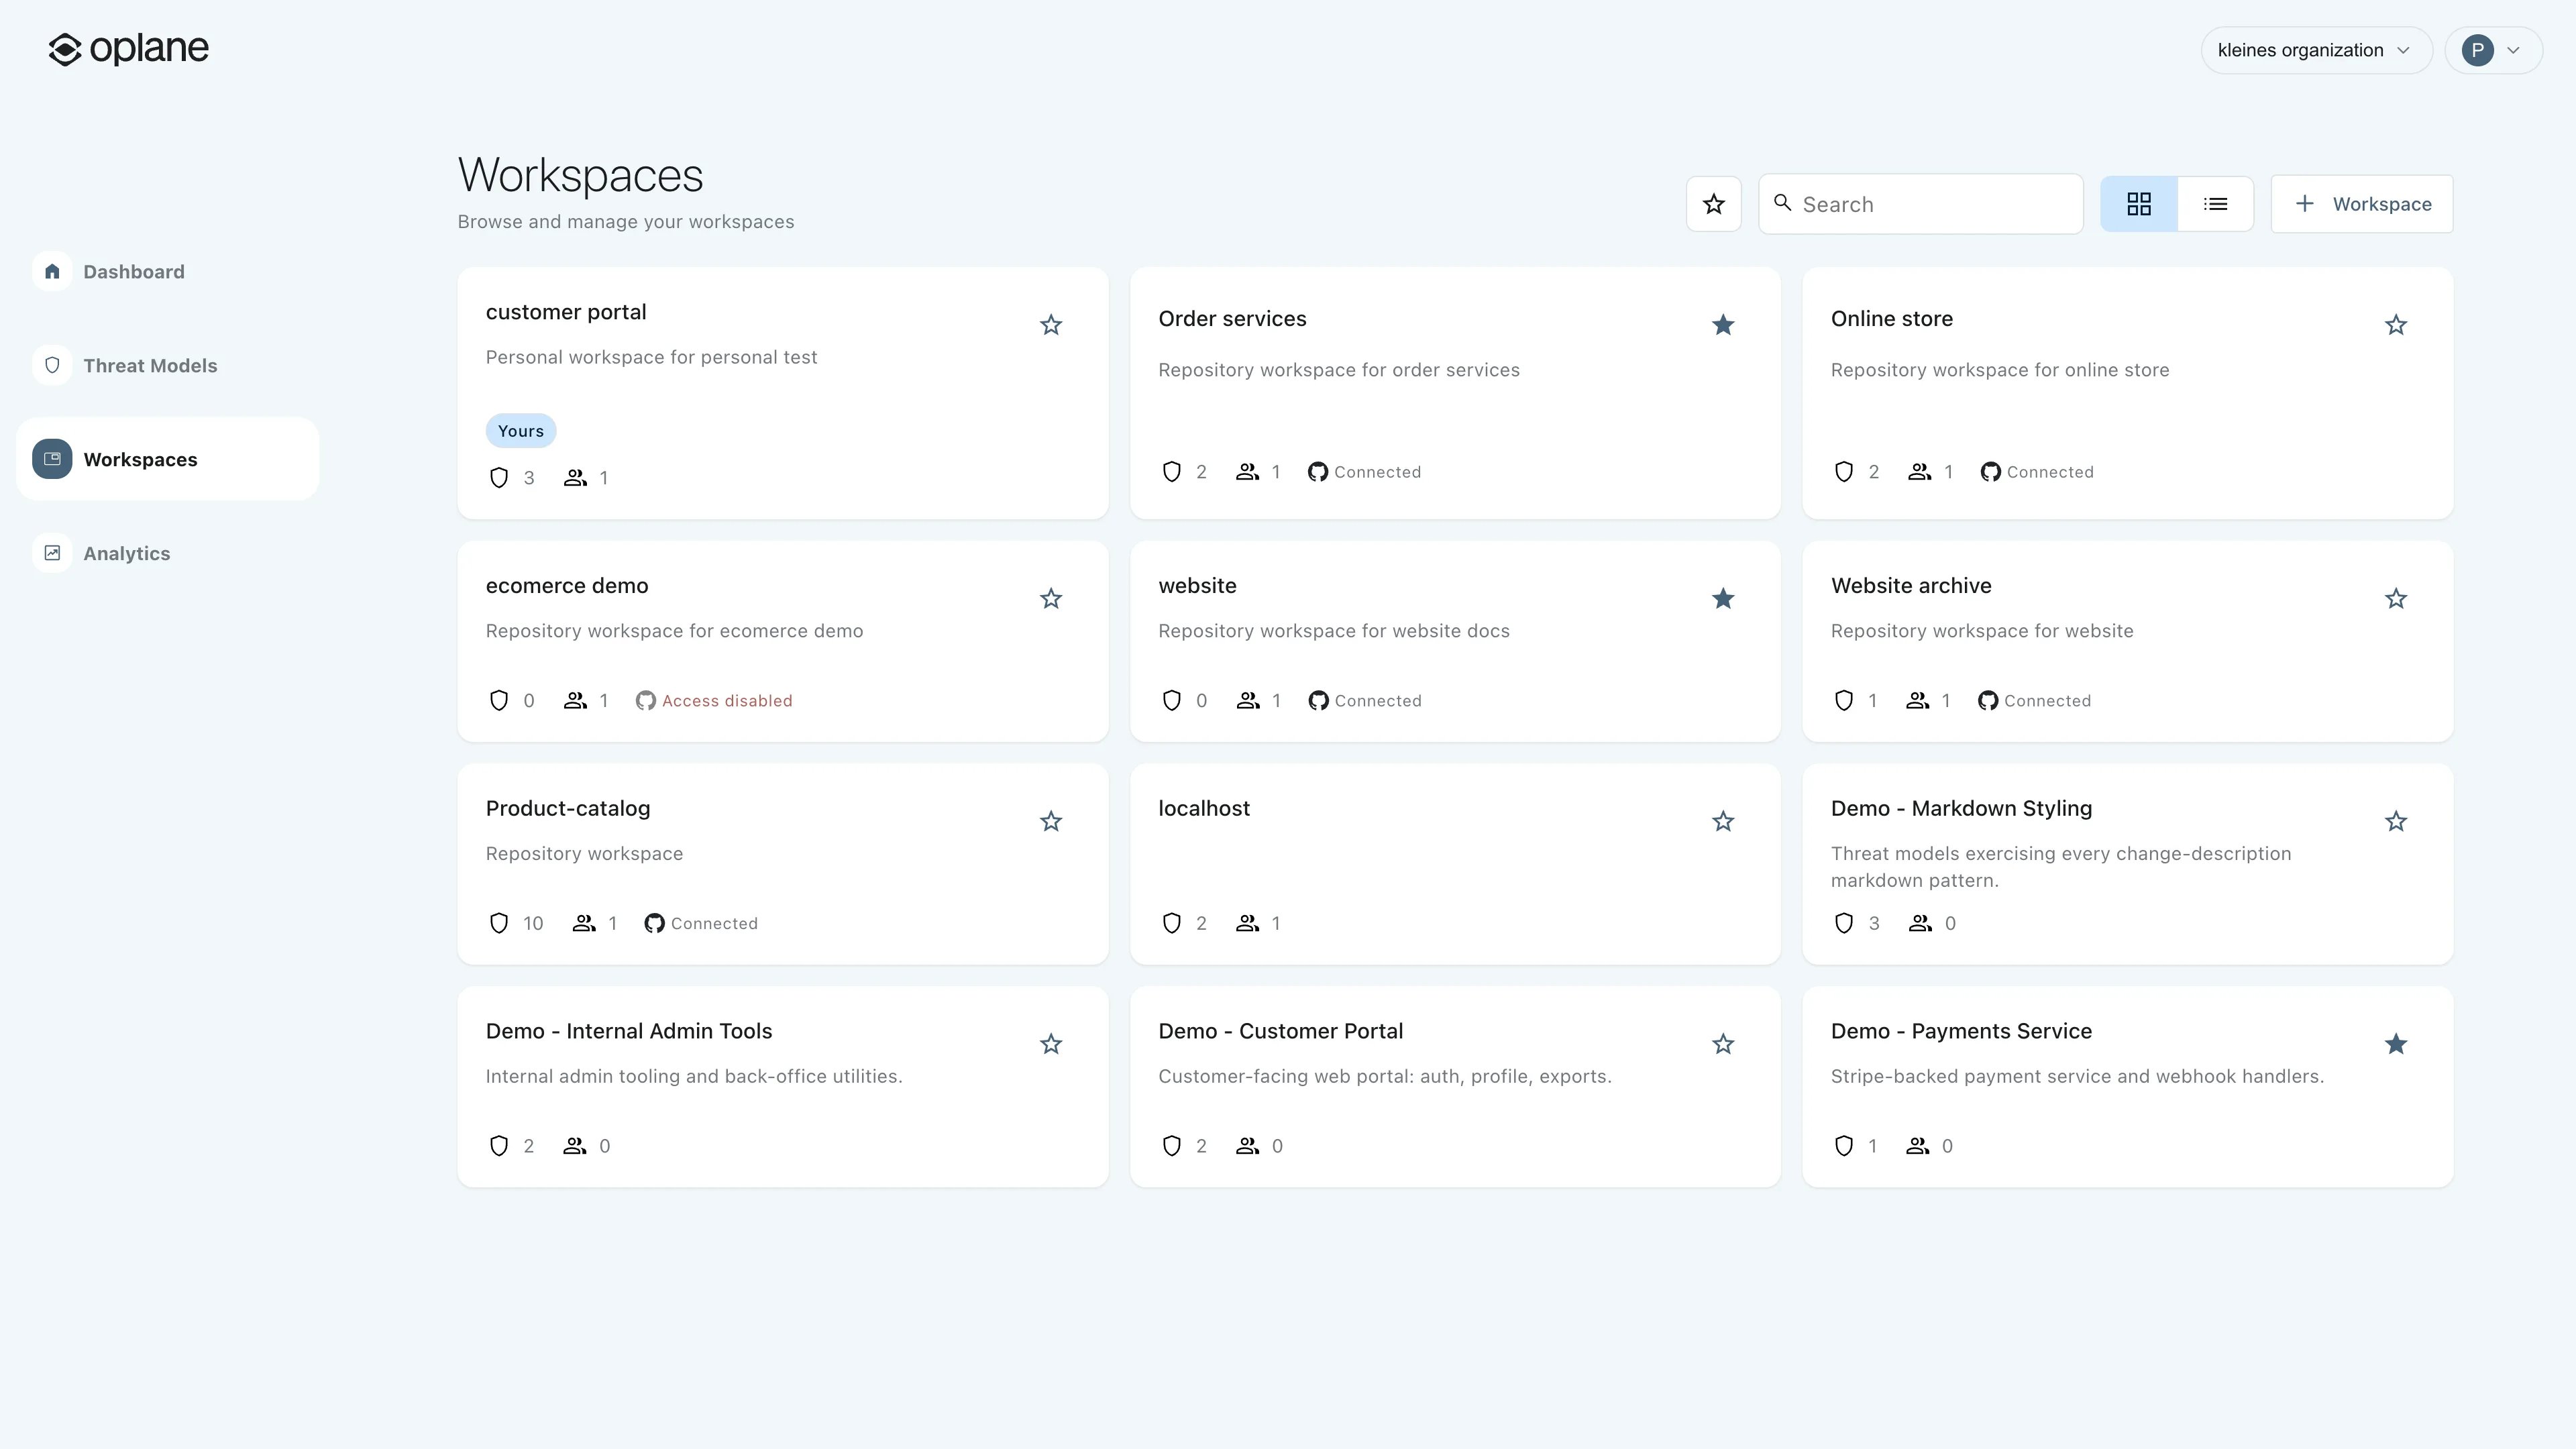
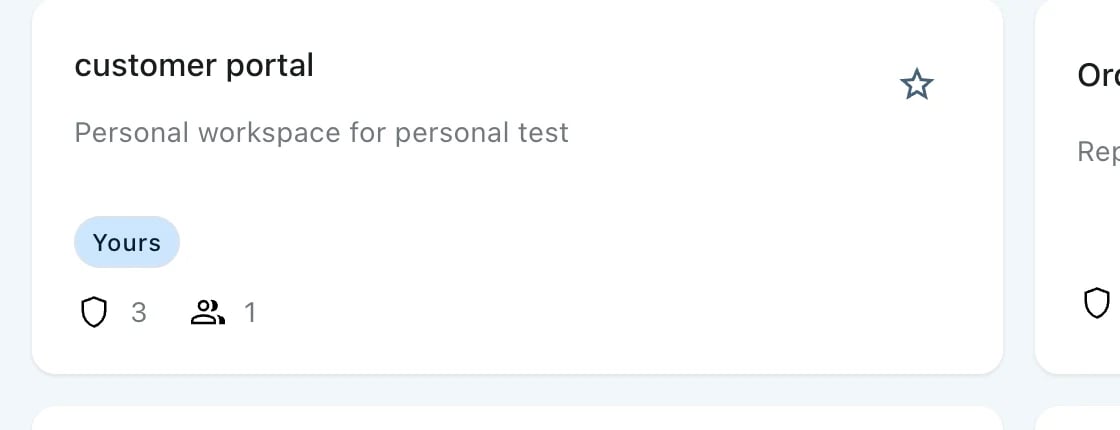
Your personal workspace is marked with a Yours badge
Learn about workspaces
Learn how workspaces work and how to create them.