

Connecting a self-managed GitLab instance, start to finish.
You need the Owner role on the Oplane organisation to manage integrations, and administrator access on your GitLab instance to create the recommended instance-wide OAuth application.
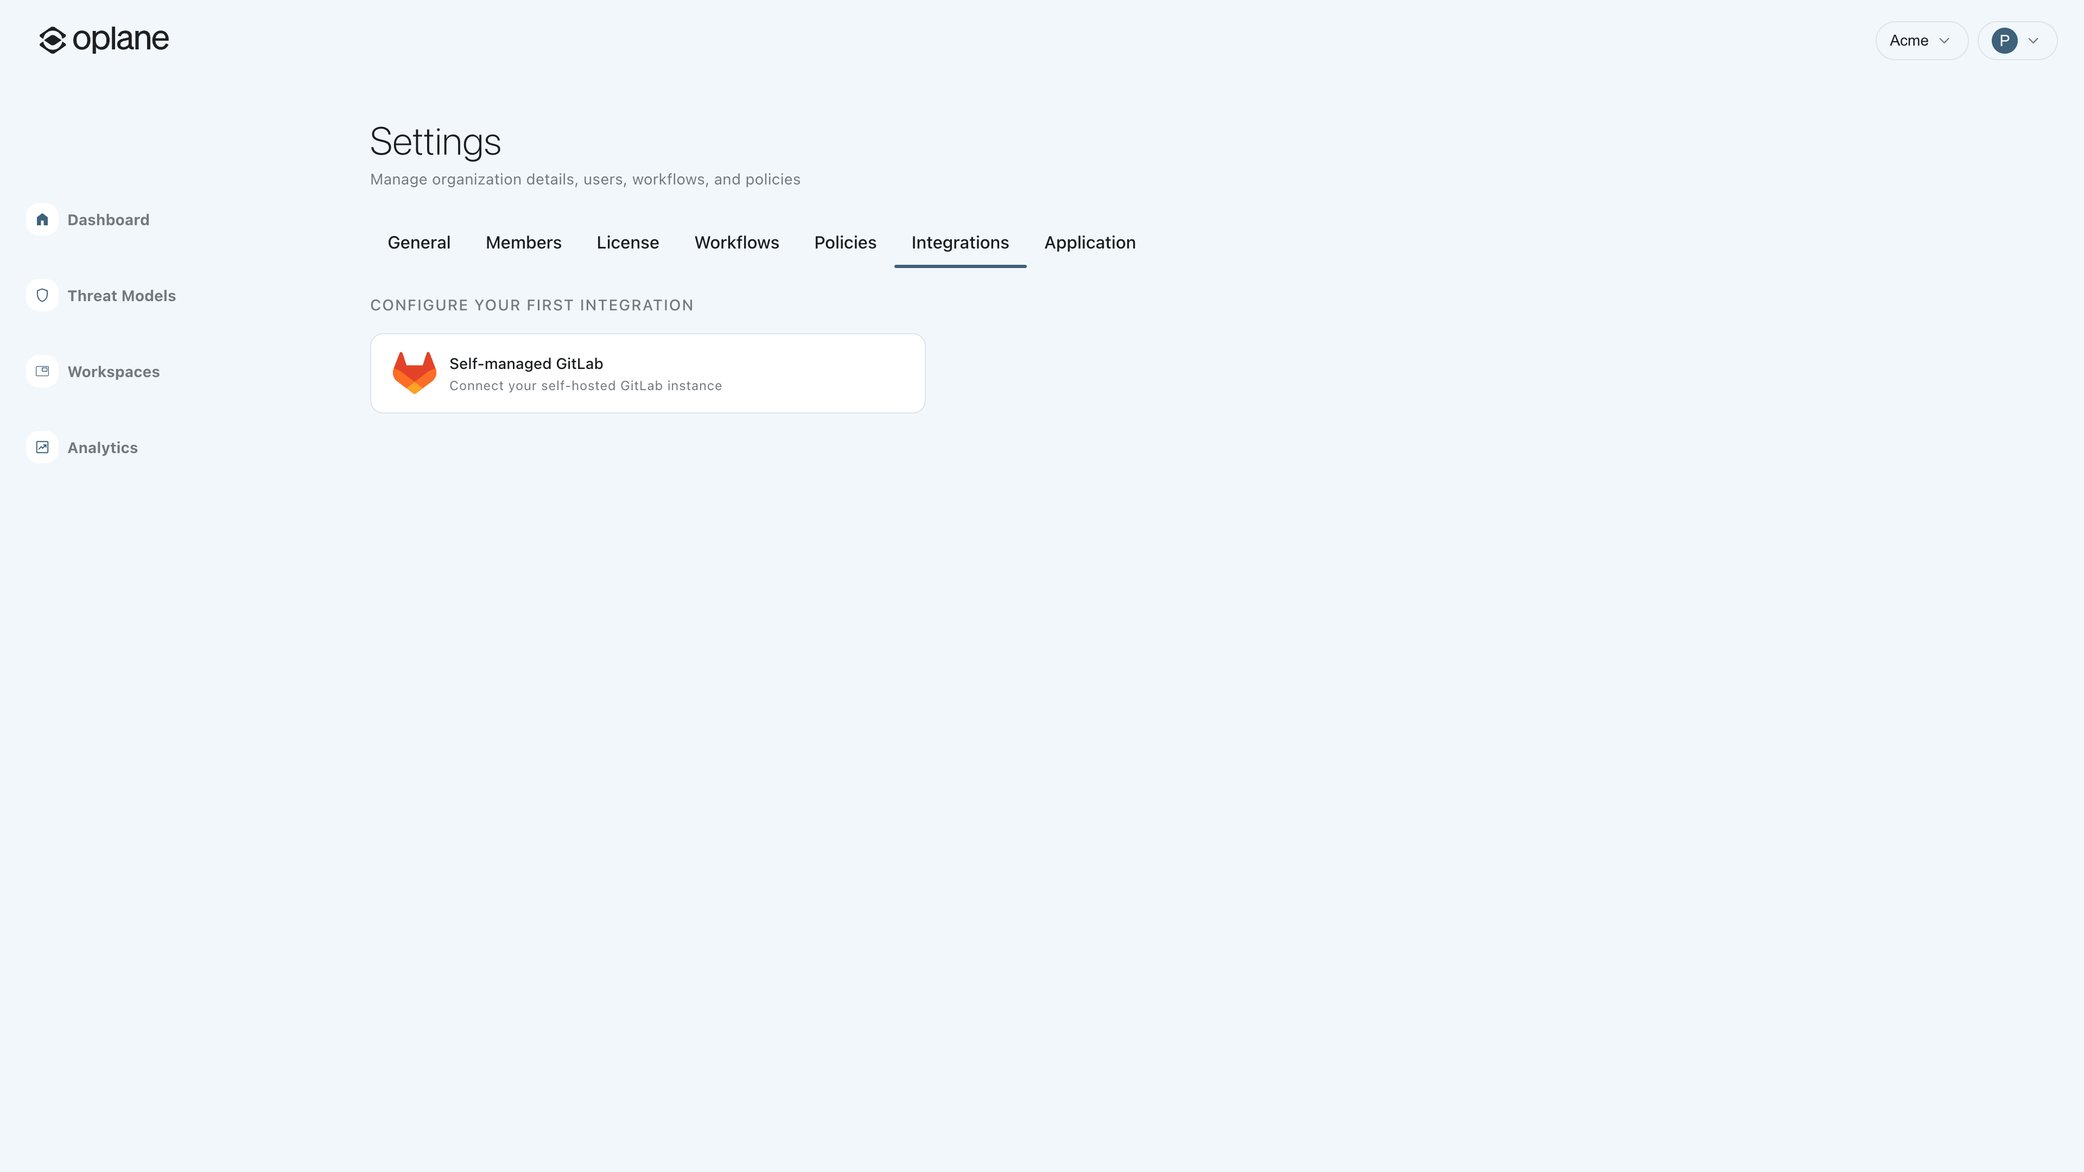
Open the Integrations tab
Open the organisation switcher in the top-right corner (it shows your current organisation name) and click Org Settings.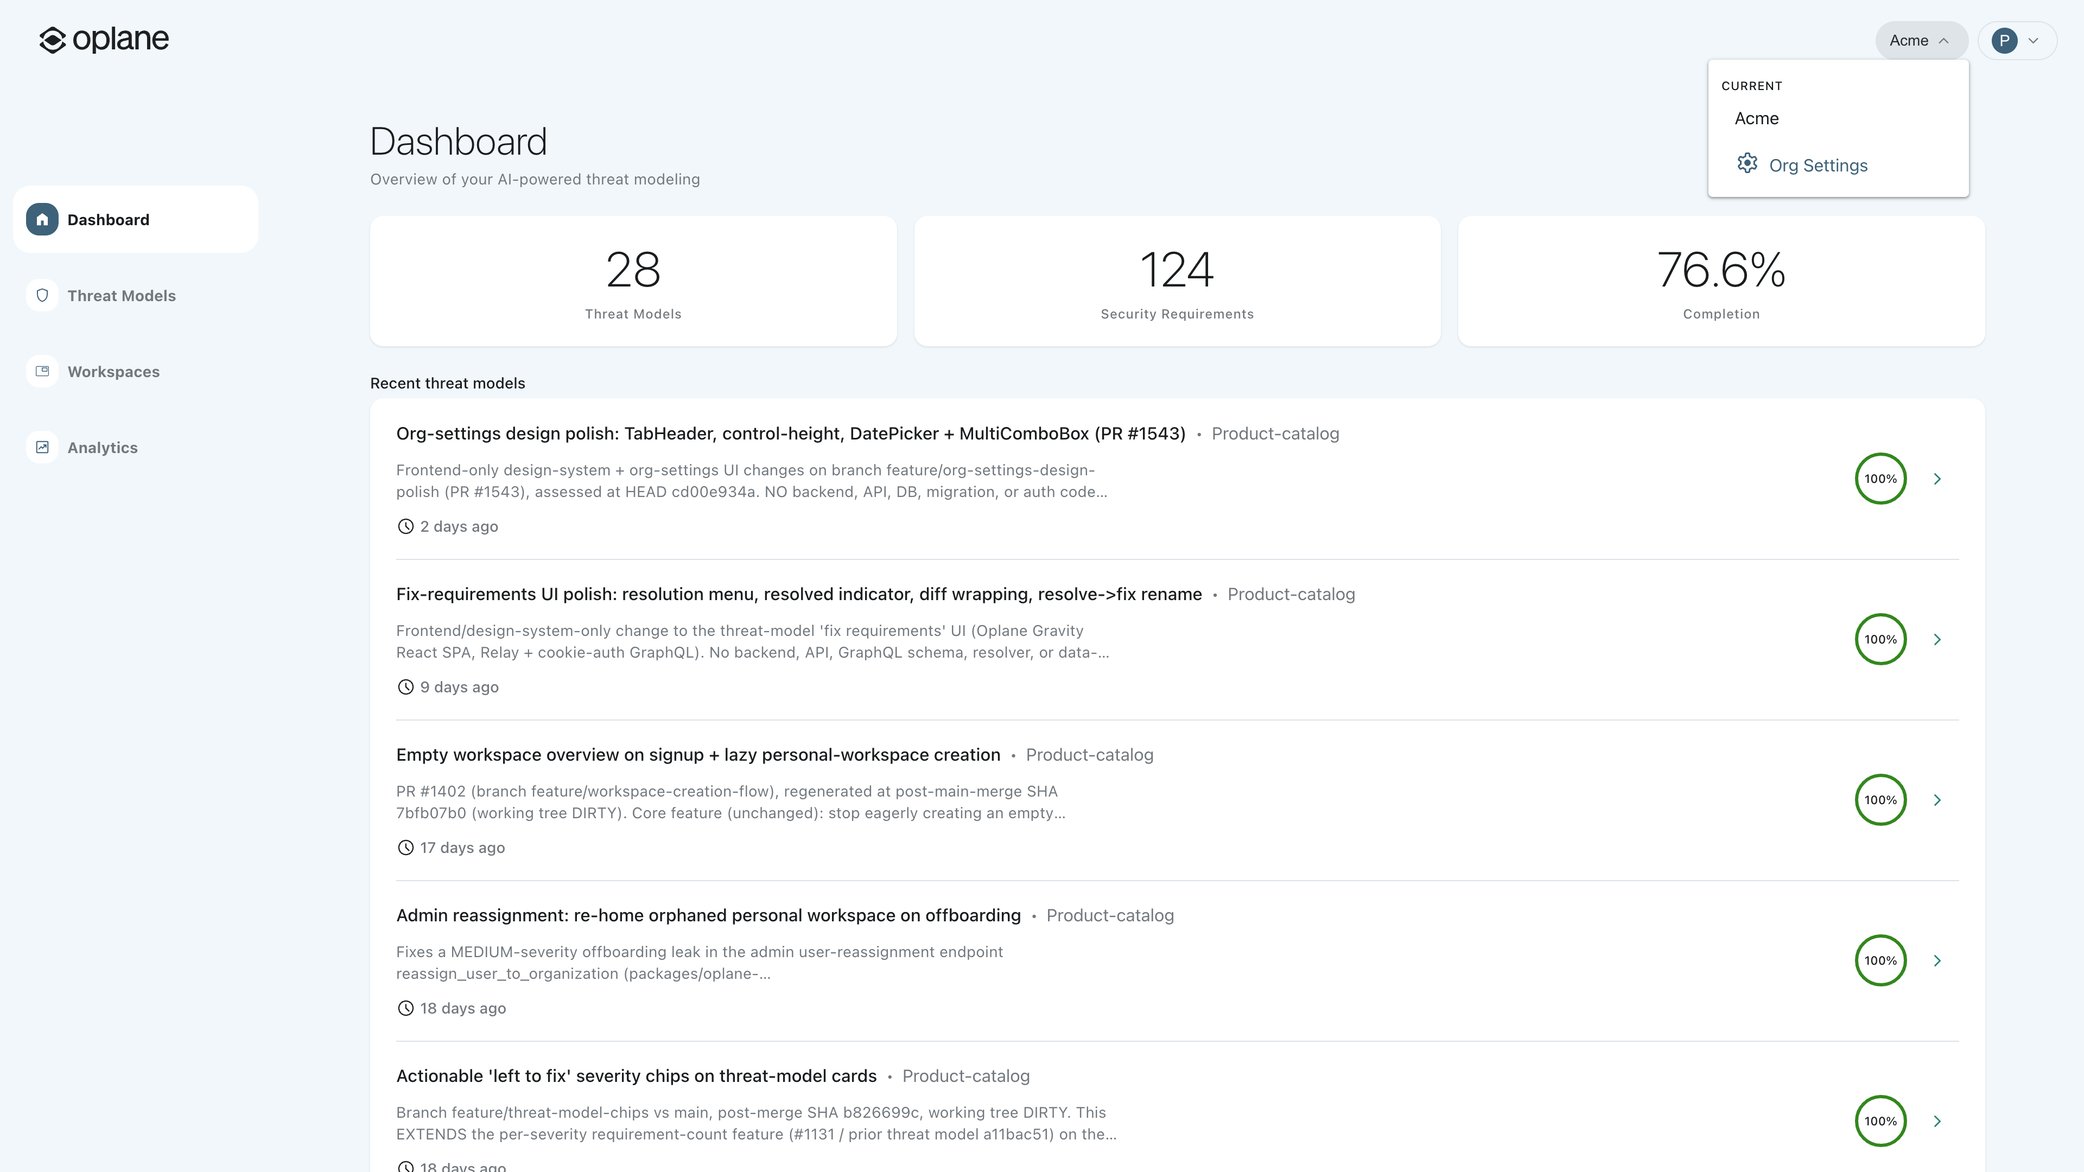
Create a GitLab OAuth application
Oplane connects to your instance through an OAuth application that you create in GitLab. Create it before you fill in the form in Oplane, because you’ll need the application ID and secret it generates.1
Open the application settings in GitLab
Sign in to your GitLab instance and open Admin Area > Applications. We recommend an instance-wide application because it belongs to your GitLab instance rather than to a single person.
2
Add a new application
Create a new application and give it a recognisable name such as Under Scopes, select
Oplane. Set the Redirect URI to exactly this value:read_user and api so Oplane can read the signed-in user and work with projects and merge requests on your behalf.3
Set the application options
Keep Confidential enabled. For an instance-wide application, also tick Trusted so your users skip GitLab’s authorization screen. Leave the other options off, including Device authorization grant, then save the application.
4
Copy the credentials
After you save, GitLab shows the Application ID and Secret. Copy both now, since GitLab only shows the secret once.
Add the integration in Oplane
Back in Oplane, click the Self-managed GitLab option to open the configuration form.1
Enter your GitLab host
In GitLab host, enter the hostname of your instance, for example
gitlab.example.com. The https:// prefix is added for you, so leave it out of the field.2
Paste the application ID and secret
Paste the Application ID and Secret from the GitLab OAuth application you created. If you’re not sure how to generate these, click Need help? See how to create a GitLab OAuth application at the top of the form.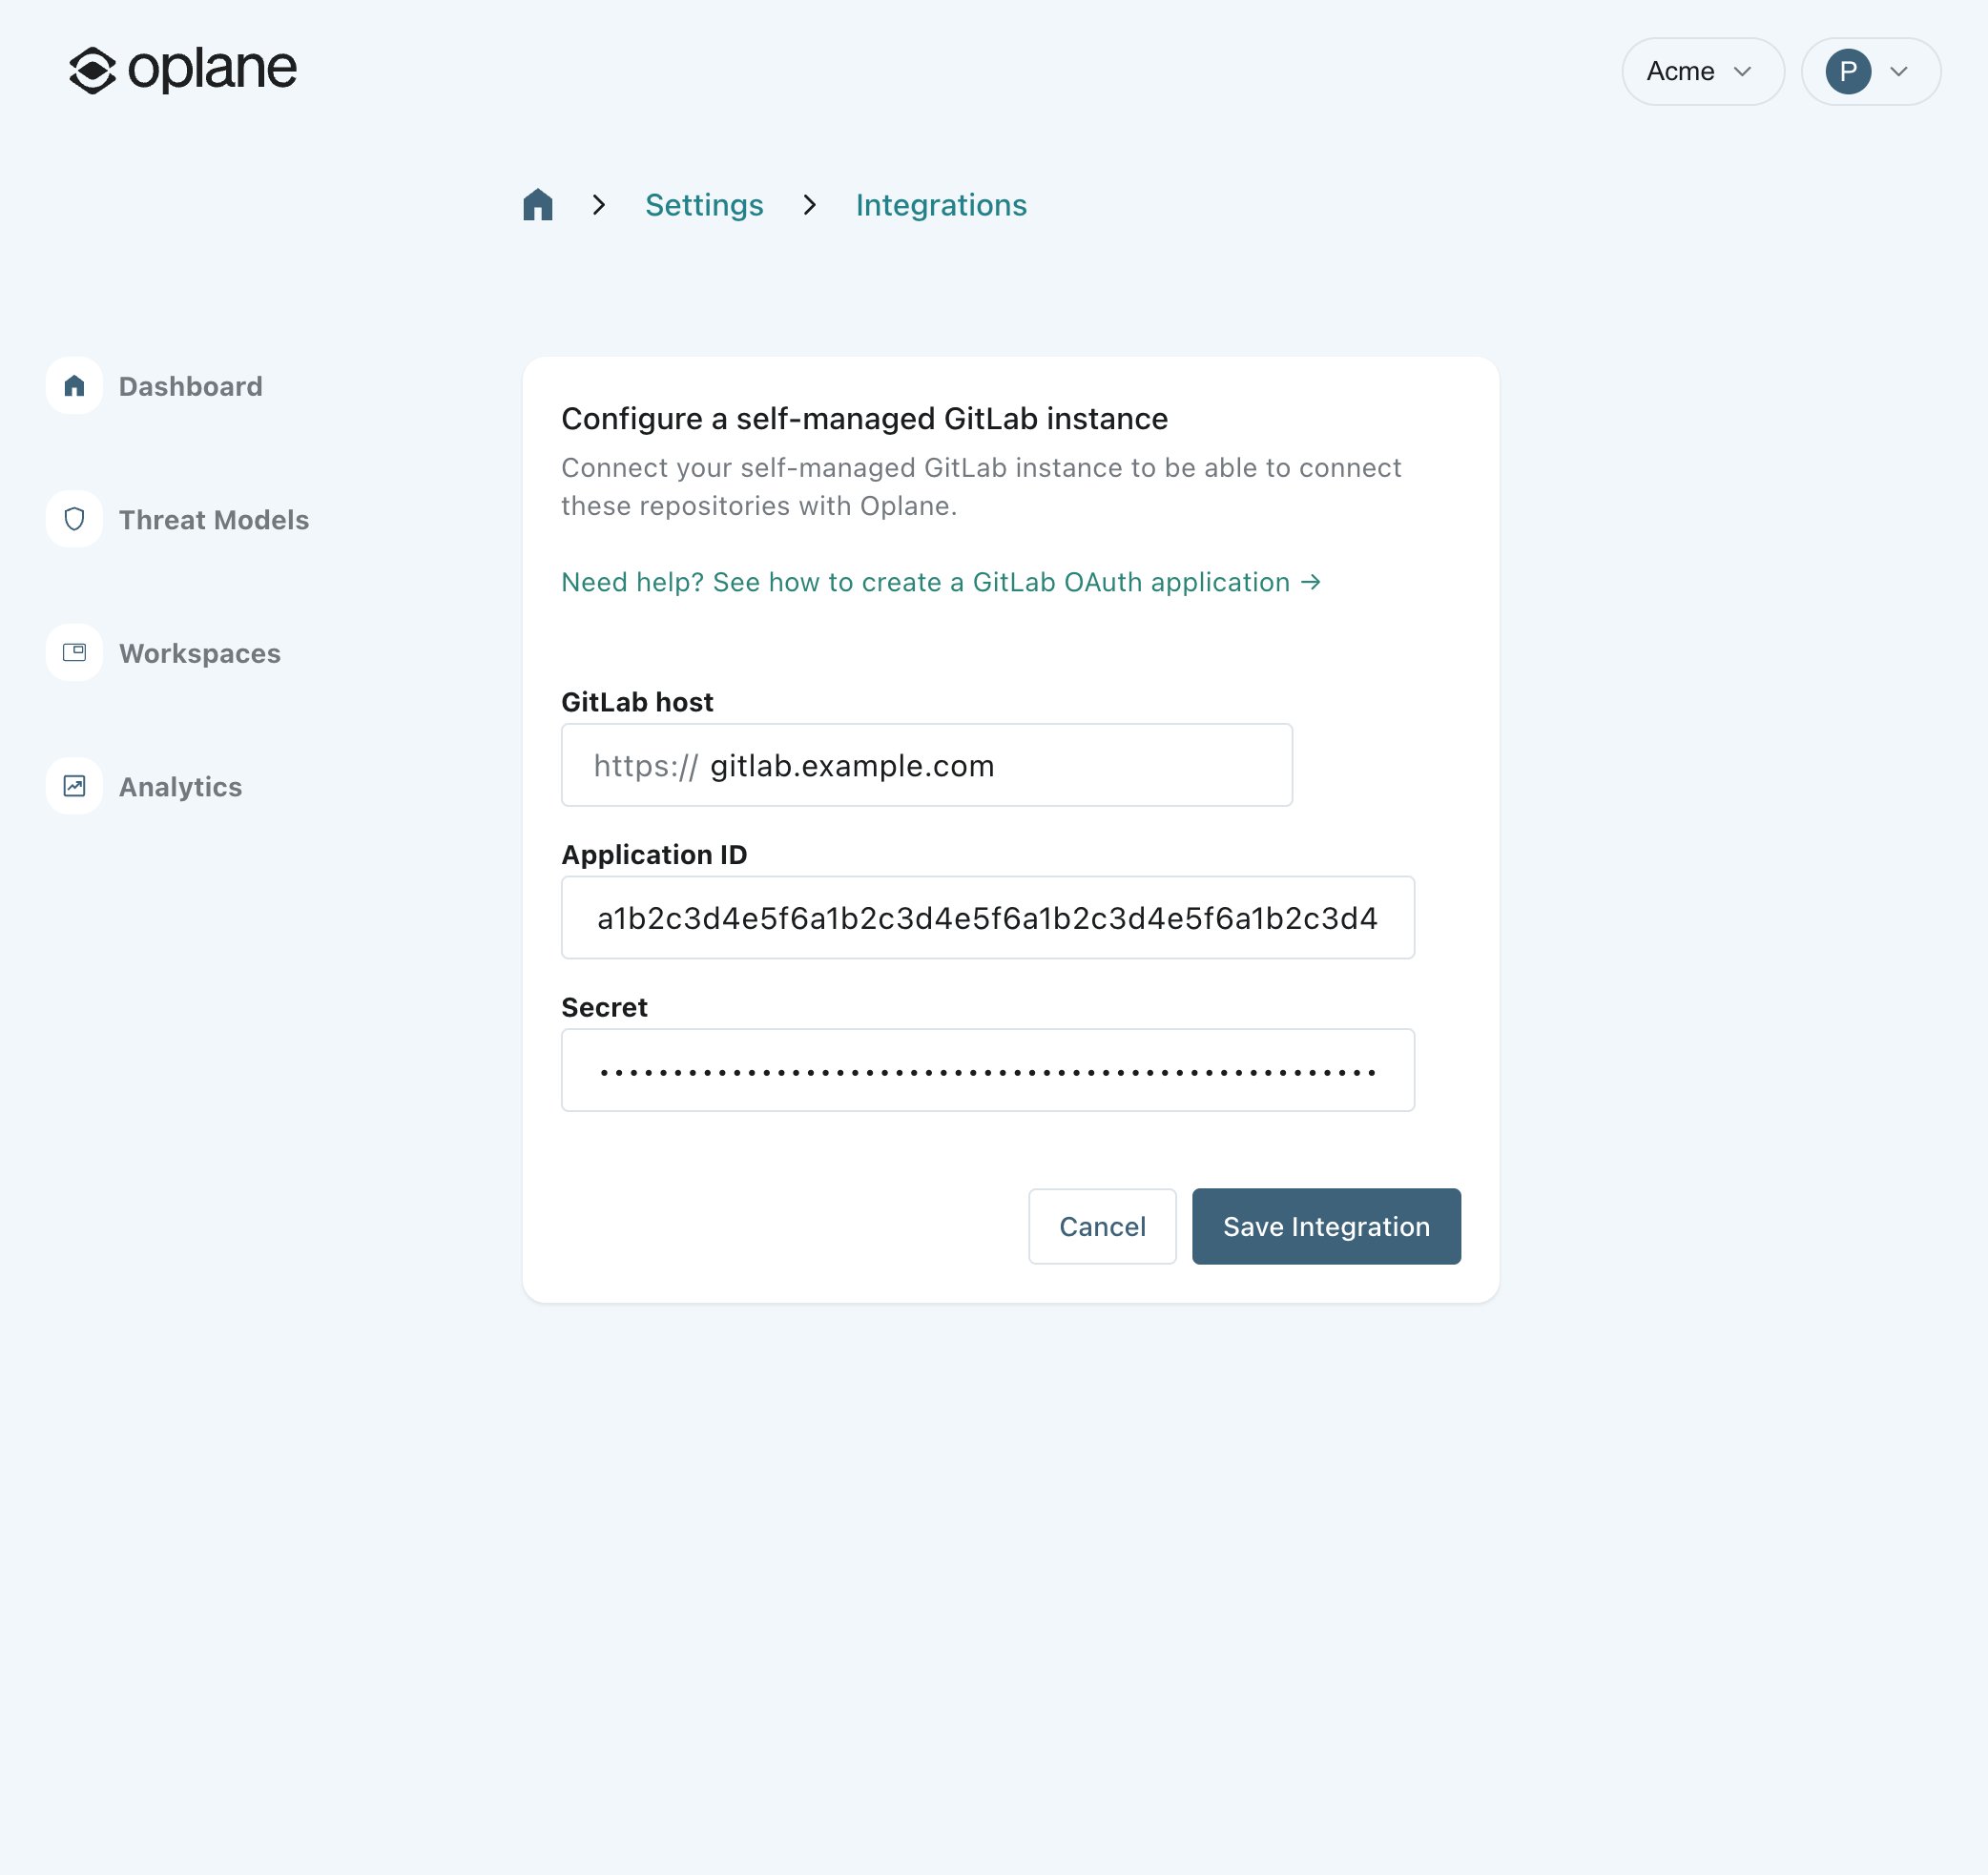
3
Save the integration
Click Save Integration. The integration now appears in the list on the Integrations tab, and your workspaces can start connecting projects from this instance.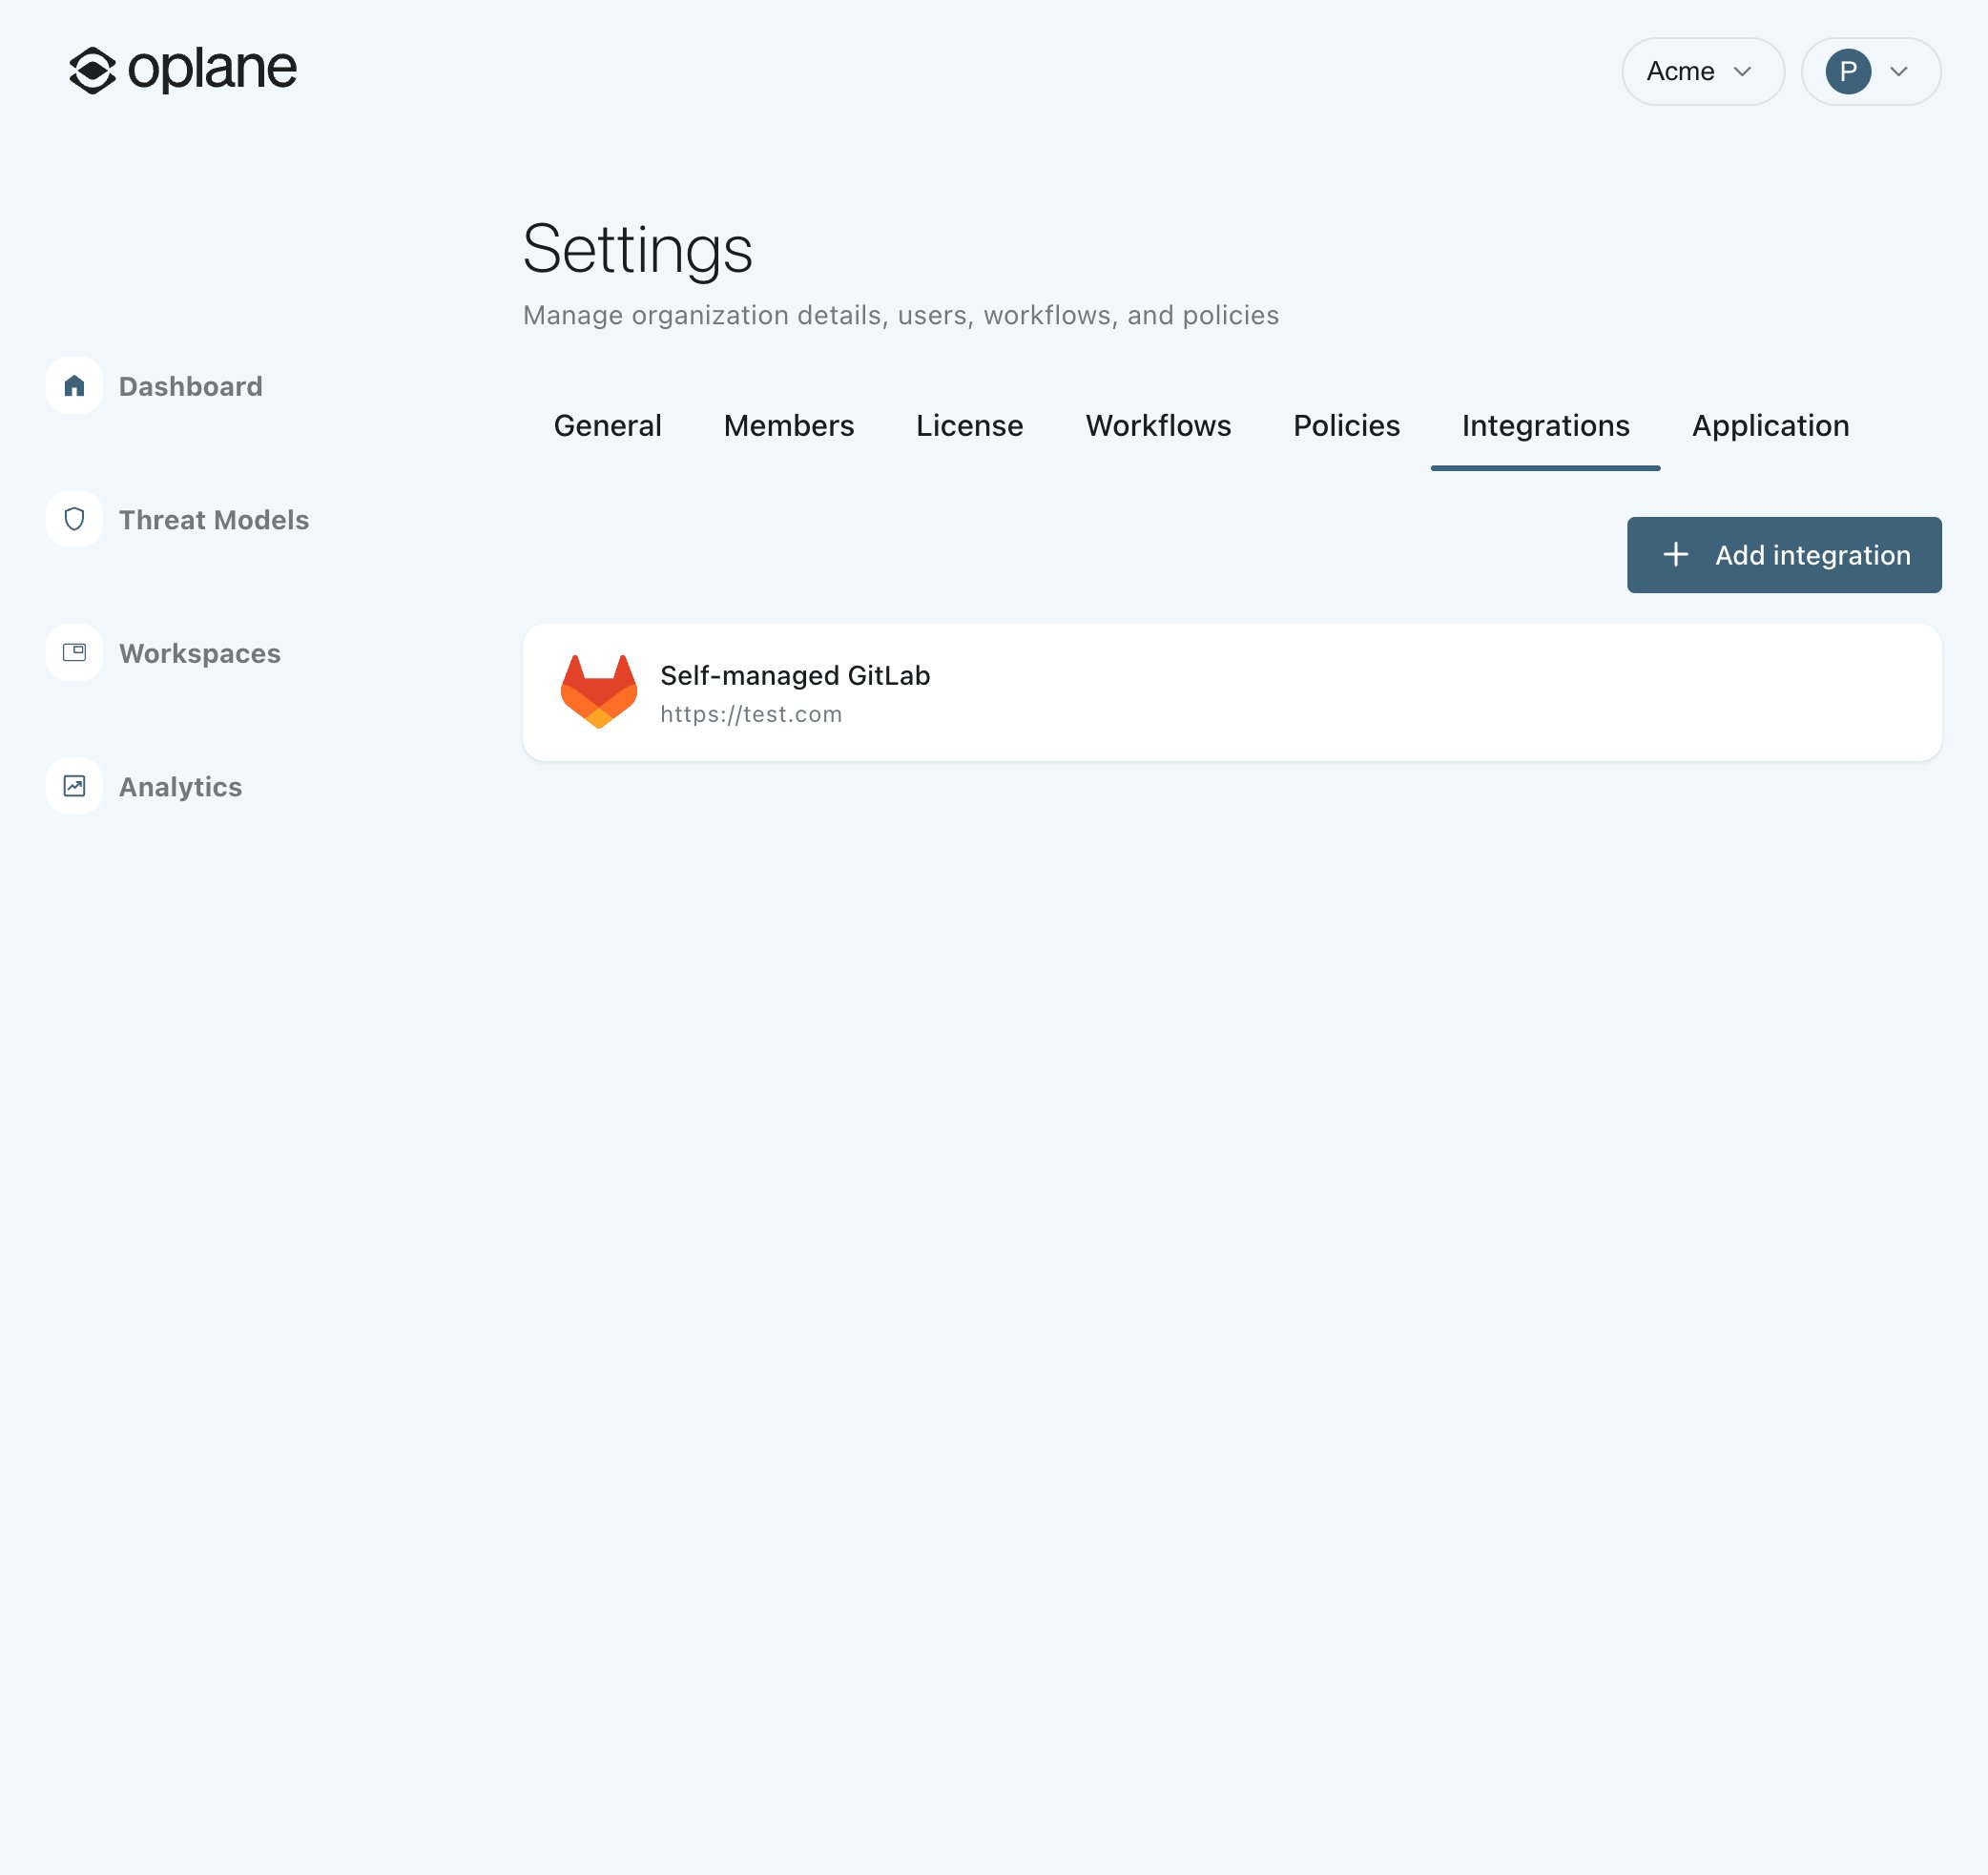
Connect repositories from your instance
Once the integration is saved, connecting a self-hosted project works the same as connecting a GitLab.com project. When you add a source to a workspace and continue with GitLab, your self-managed instance is available alongside GitLab.com, so you can pick the group and project you want.Manage or remove an integration
Click an integration in the list to open its detail page. From there you can review the Application ID, rotate the stored credentials with Change if you regenerate them in GitLab, or remove the connection under Danger Zone.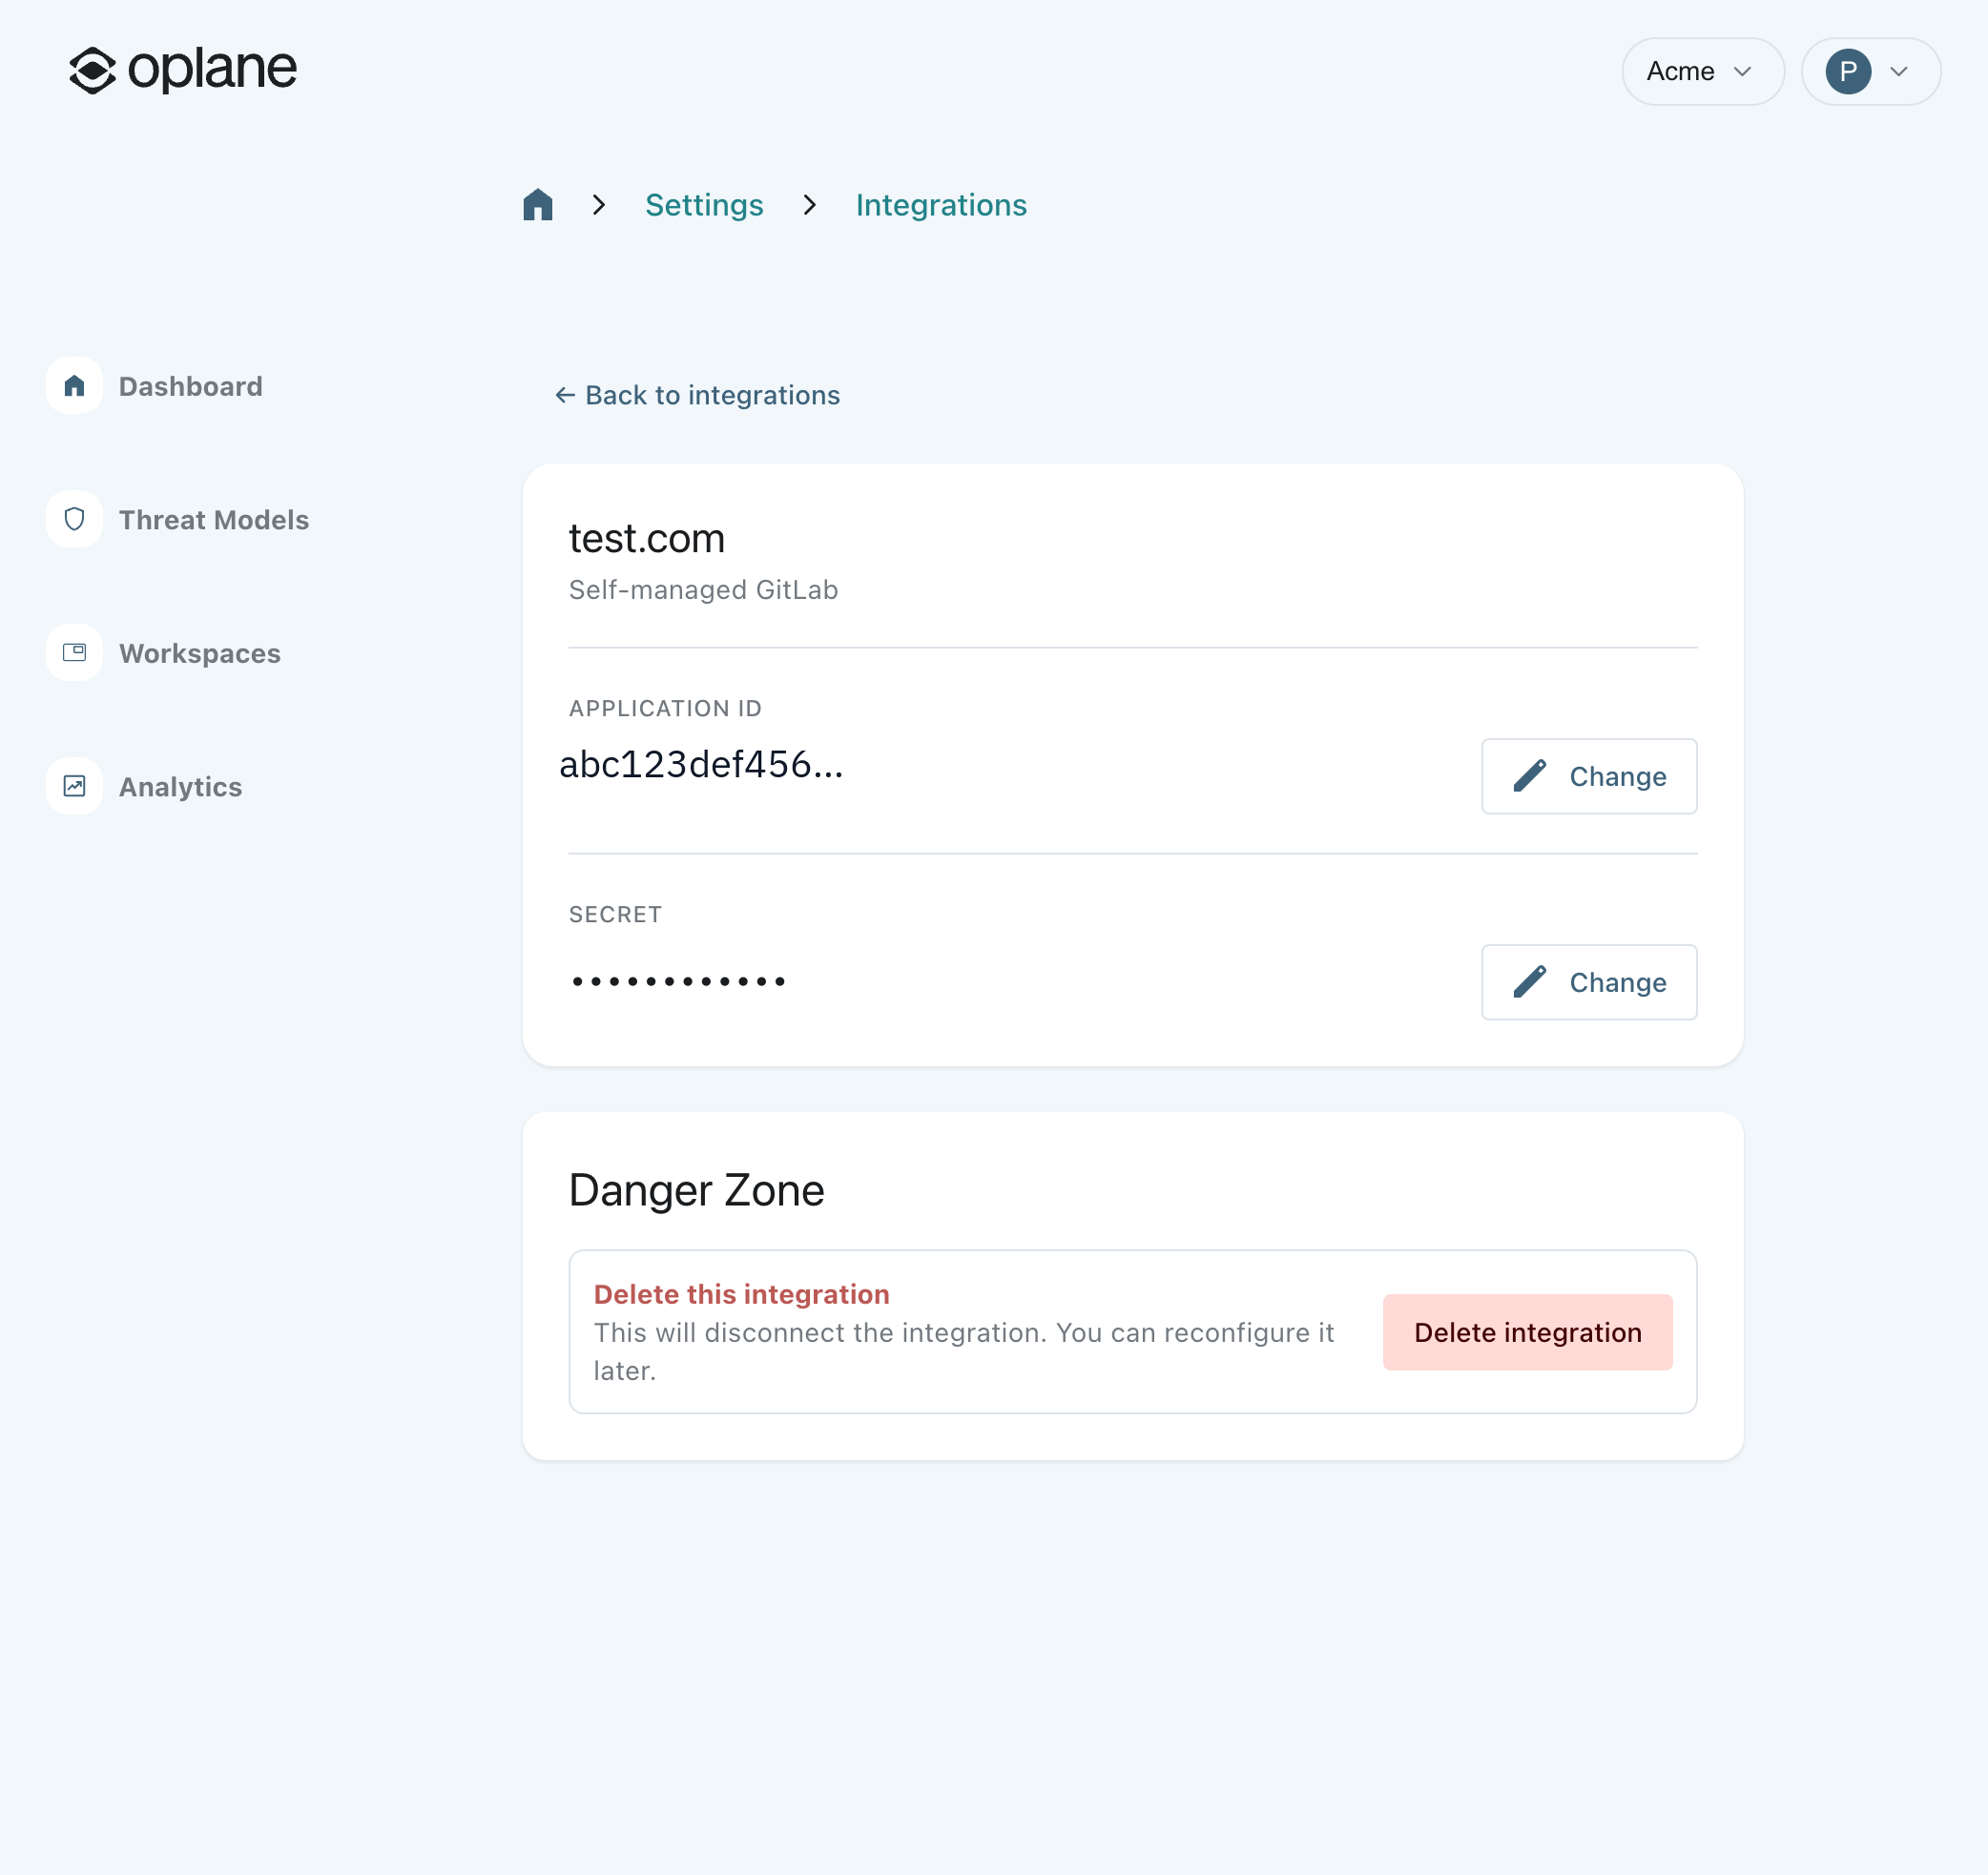
Troubleshooting
The GitLab host field shows an error
Enter only the hostname, such asgitlab.example.com, without the https:// prefix or a trailing path. The prefix is part of the field itself.
Saving fails or the connection is rejected
Double-check that the Application ID and Secret match the OAuth application in GitLab, and that the application uses theread_user and api scopes with Confidential enabled. The Redirect URI must be exactly https://gravity.oplane.io/api/web/auth/federation/callback. If you regenerated the secret in GitLab, open the integration and use Change to store the new value.